Brewing the First Batch.
Materials needed:
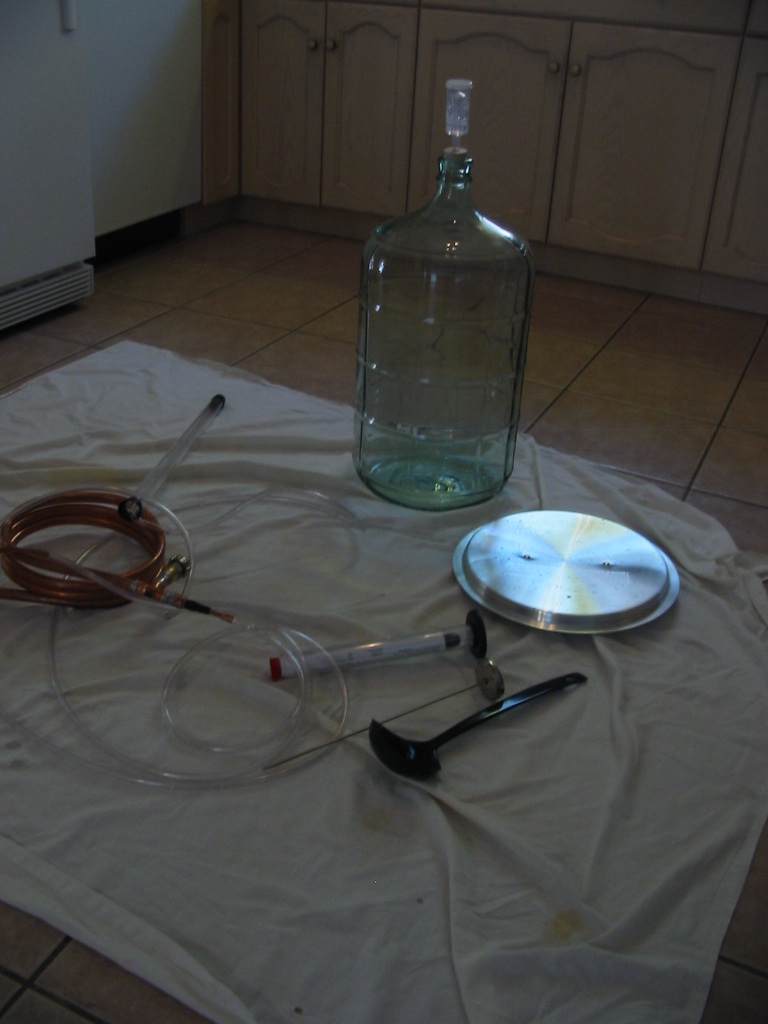
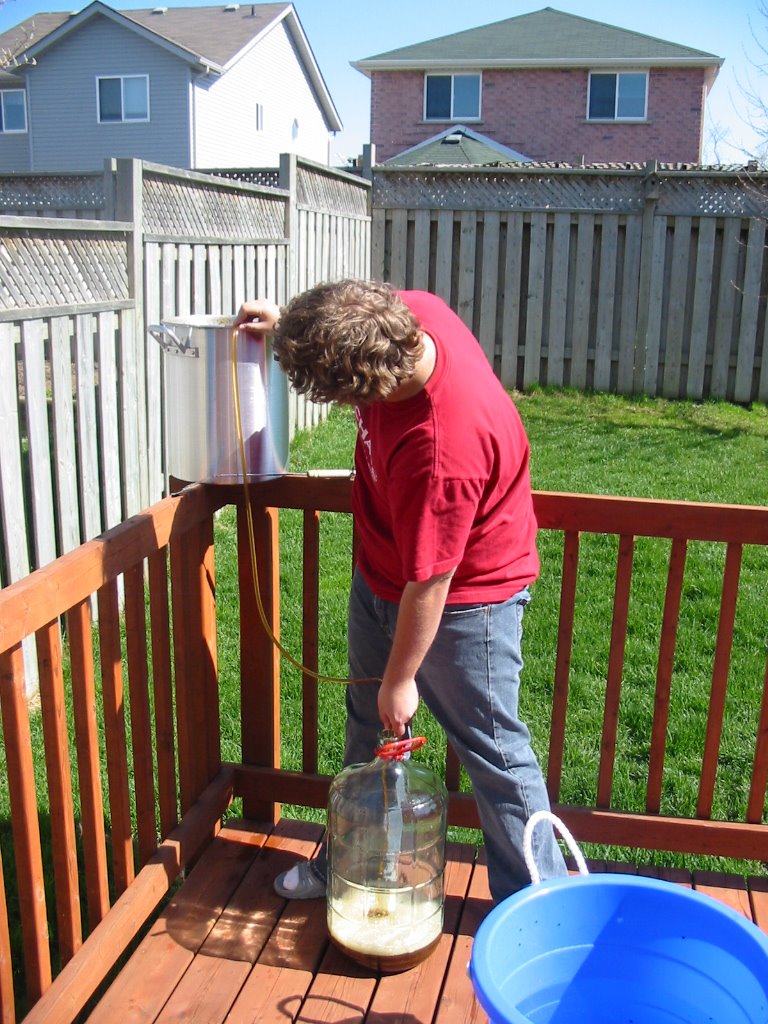
The first step was to gather all the materials, and wash/sanitize accordingly. The boiling pot/turkey fryer was assembled the night before and was ready to be washed and sanitized. As the wort will boil away in it, sanitization was not necessary but done as a harmless precaution anyway. The sanitizer is a pink powder (of unknown/forgotten chemical compound) that was mixed into water. We ran sanitizer from the boiling pot, through tubing and into the wort chiller out into the primary carboy. The kit/ingredients used for this brew is a partial grain India Pale Ale recipe. It was purchased from www.midwestsupplies.com along with 3 others. Everything was functioning, cleaned and ready to start.

First Step: Filter Water
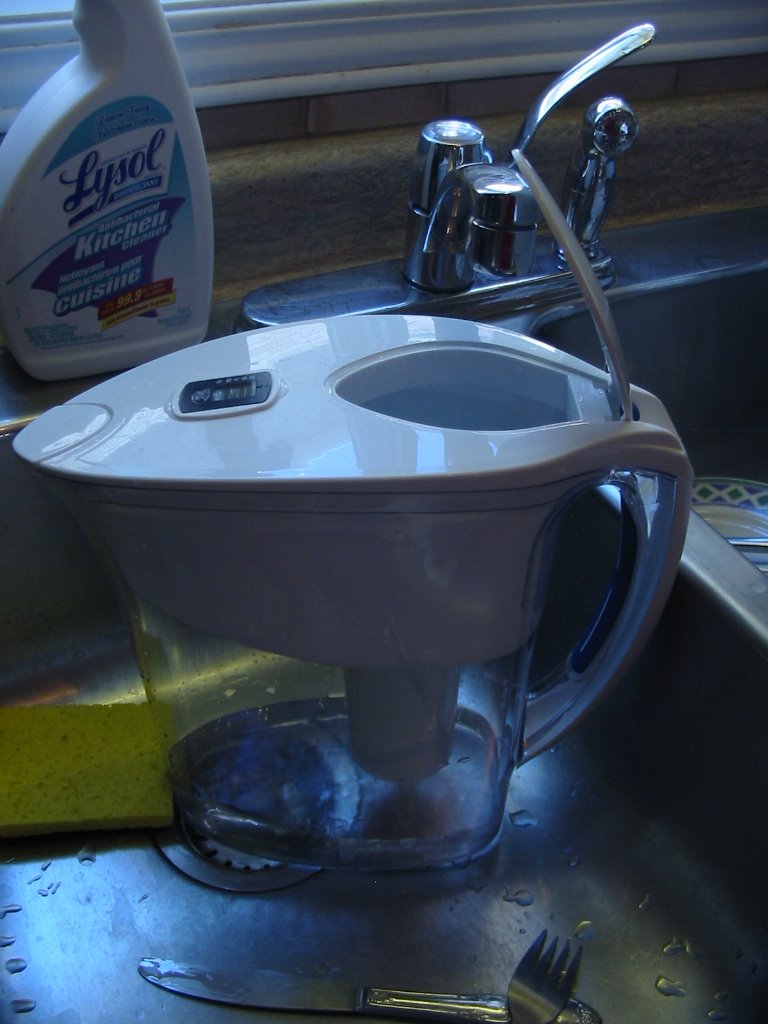
As precautious first timers, we didn’t think hard tap water was the best idea for the brew. We decided that filtering 6 gallons of water through a Brita© filter would be a good idea. Here, the first crucial mistake was made. Filtering 6 gallons of water through a possibly 2 liter Brita© bottle was a horrible idea. The process itself took about 1.5 hours!

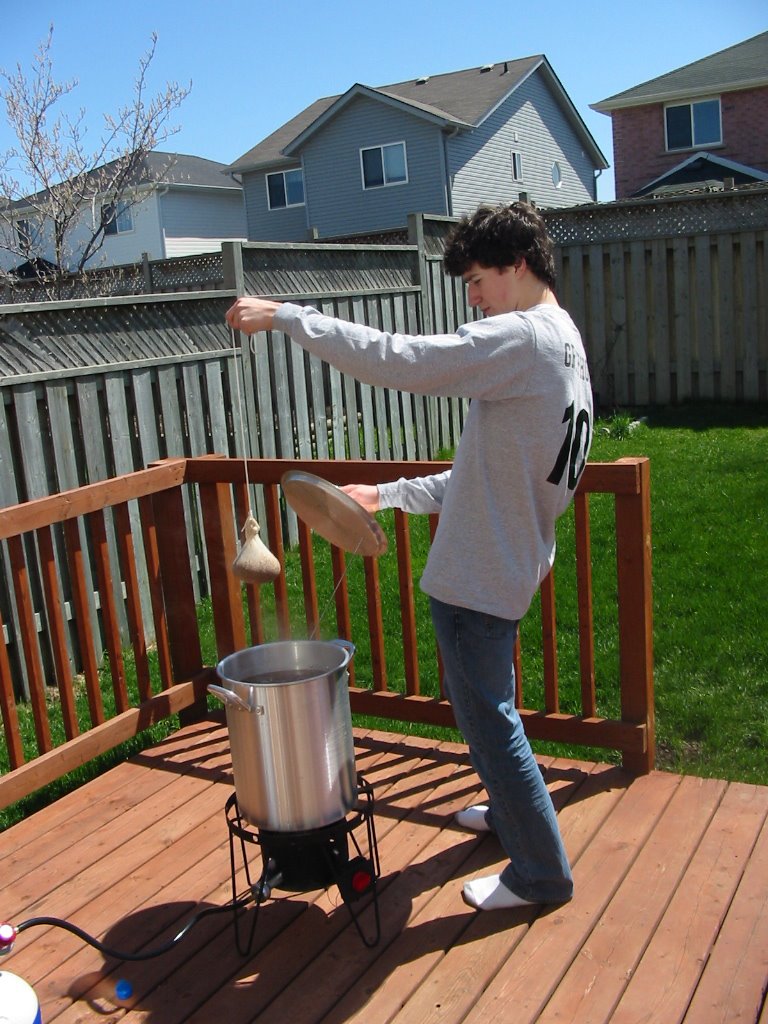
Second Step: Heat Water/Steeping
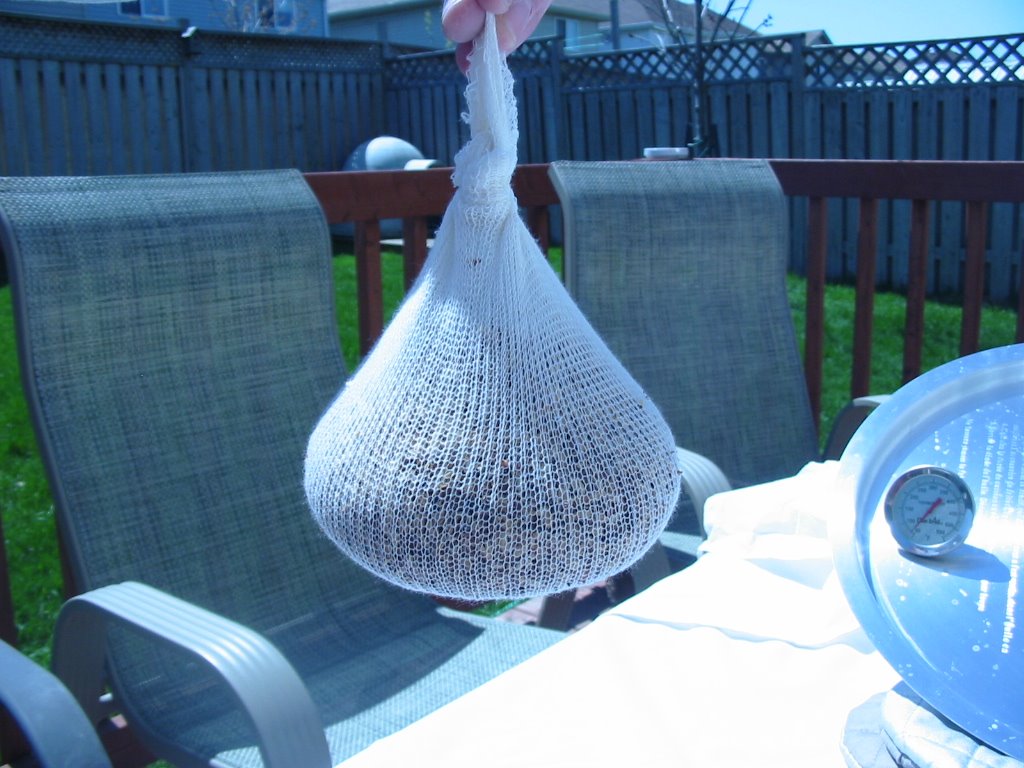
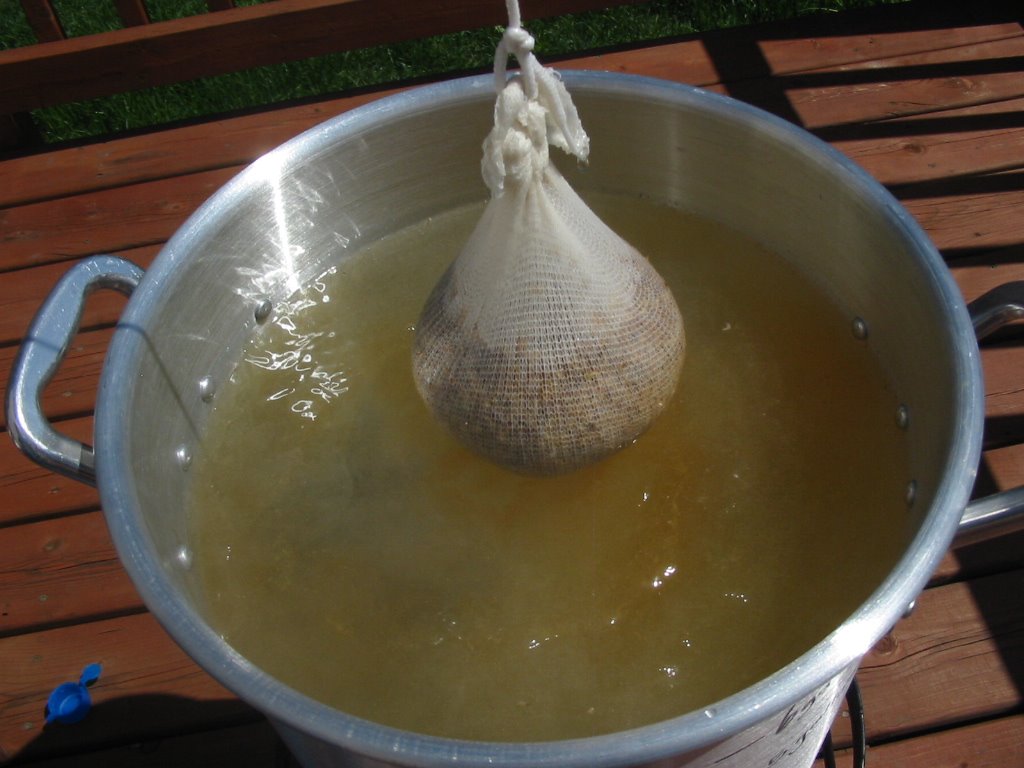
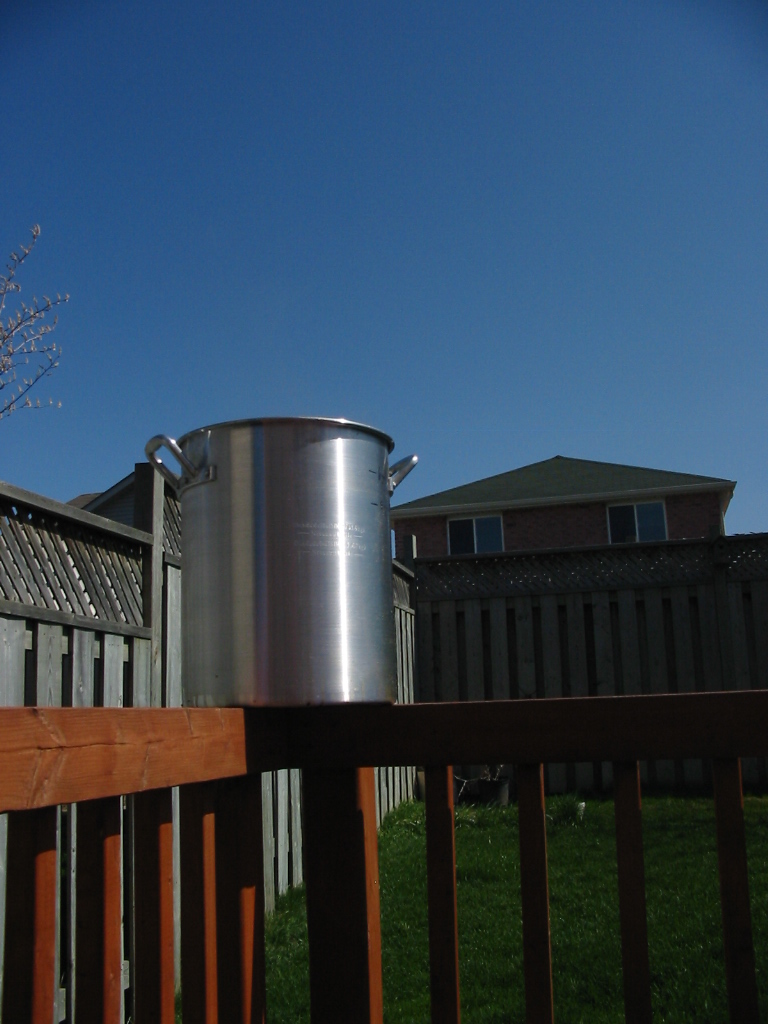
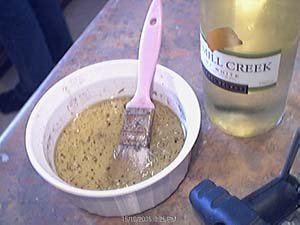
The second step was to set up the turkey fryer to a propane tank, and heat 6 gallons of filtered water to 155 degrees. As water began to heat, approx. half a pound of specialty grain was placed into the worst teabag known to mankind. www.midwestsupplies.com really dropped the ball on producing a decent teabag for us to use. I’ve already ragged on this website enough so I’ll stop, for now. Anyway the teabag was modified to be functional, and when the water reached the appropriate temperature (155 degrees), the fire was turned off, and the bag was dipped into the pot, and steeped. Essentially mimicking a tea making process, the water turned a light amber/brown colour and began to smell like a mixture dominated by regular flavored Pringles© with hints of caramel/sugar. Oddly enough, it smelled rather delicious. After about 35 minutes, the steeping was done, the bag was removed, and a weak wort was made.
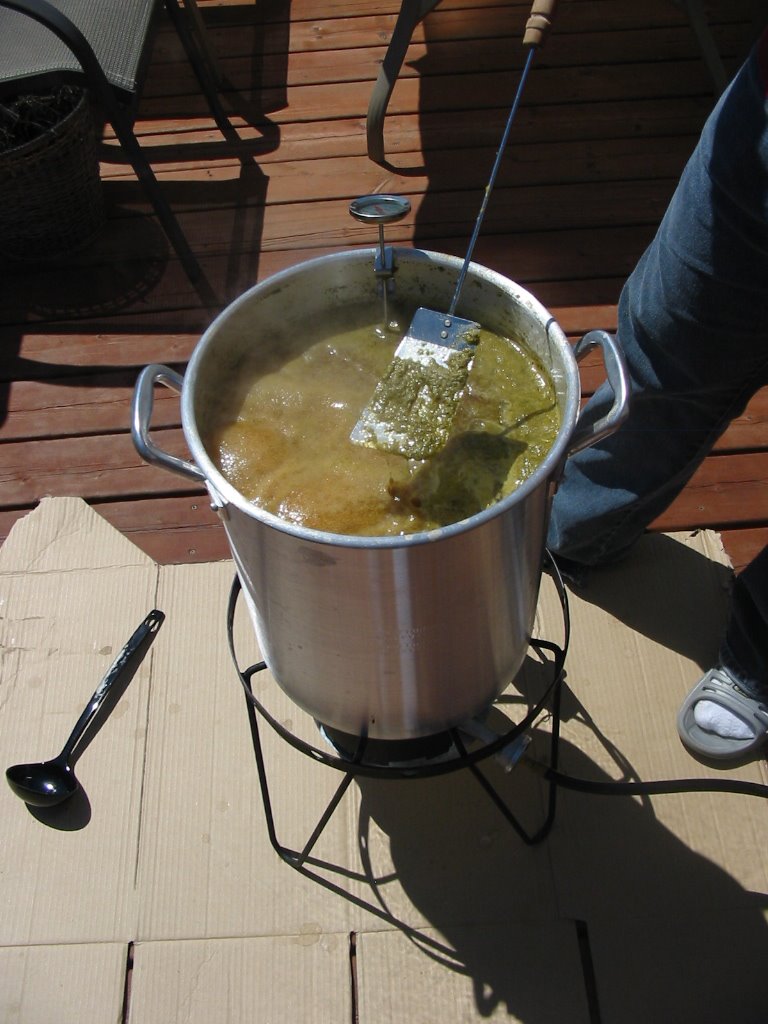
Mash Out:
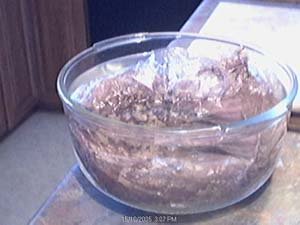
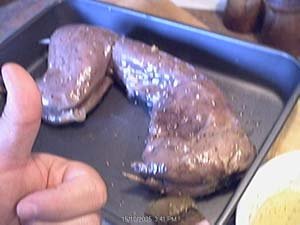
A mash out was done and the teabag was removed from the pot. The way this was done was by turning the burner back on, and heating the wort to 170 degrees. The next step was to add malt extract to the weak wort. Upon opening the bottles, I was shocked to find the most viscous liquid I have ever seen in my life. Immediately sweet and caramely aromas arose, and a taste test followed to confirm. Upon dumping ¾ gallons of the malt extract, the burner was set to max, allowing for all hell to break loose…
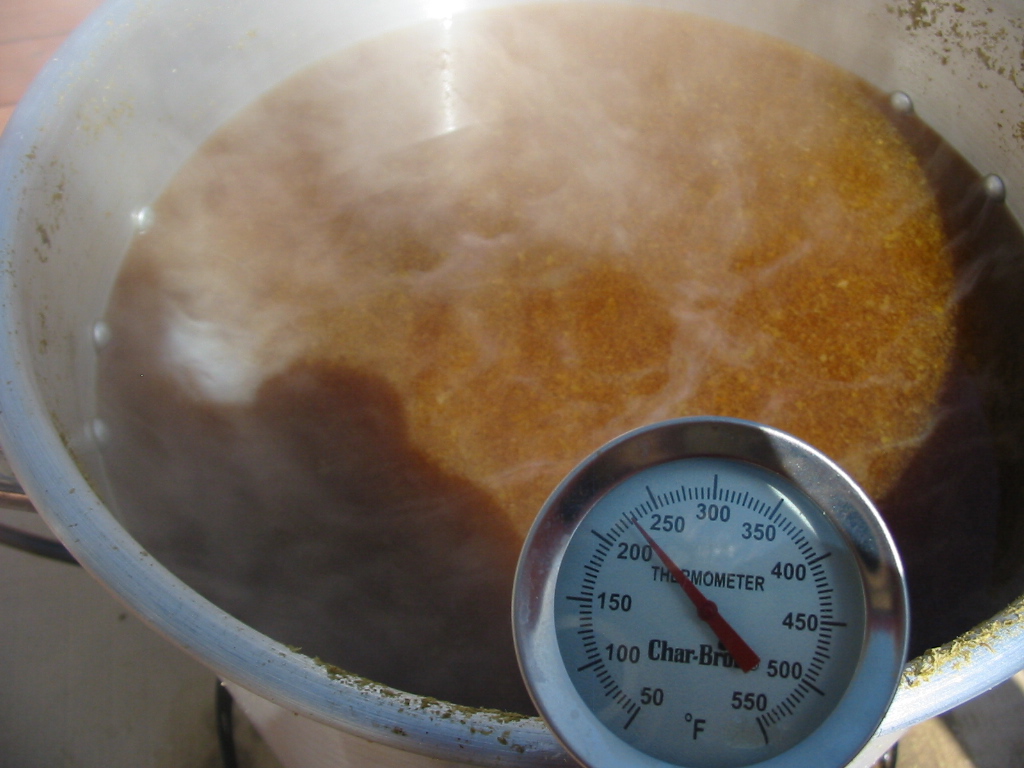
Boiling:
The wort was happily boiling away at 225F for a good 10 minutes before we added the first hops. 2oz of Cascade hops for bittering along with 1oz of
Wort Chilling and Transfer to Primary Fermenter
After the last hopping, the burner was turned off and an attempt was made at chilling the wort with the brilliant counter-flow wort chiller (made from some scrap plumbing parts). It’s basically a pipe inside a larger pipe. Cold water flows through the outside pipe, and hot wort flows through the inside pipe in the opposite direction. It’s an efficient design, but if you want to know more go research for yourself. Anyways this would have worked great if the siphon starter properly and could actually take the heat of water that was boiling 2 minutes ago, instead of melting and deforming like a little bitch. (crucial error #3, and another thank-you to midwestsupplies.com for giving us such a shitty siphoner). Normally rigid plastic became impotent and sagged under its own weight, and when it cooled the siphon starter was useless, and thus the wort chiller was also useless. We got about 2 pints of wort chilled and transferred by this method. You would think that a $3 piece of equipment wouldn’t bring your brewing process to a grinding halt, but there you are. We opted for a slightly lower-tech approach: dunking the boilpot into a larger bucket of cold water. A few minutes later we had the wort down to 90F and ready to transfer, but still no siphon starter. Horrible plans (and certain disaster) by trying to pour 5 gallons of wort through a tiny kitchen funnel were averted by realizing we could start the siphon manually (at the cost of some cleanliness, but we were desperate). 5 minutes later the wort was in the carboy and ready for yeast pitching.

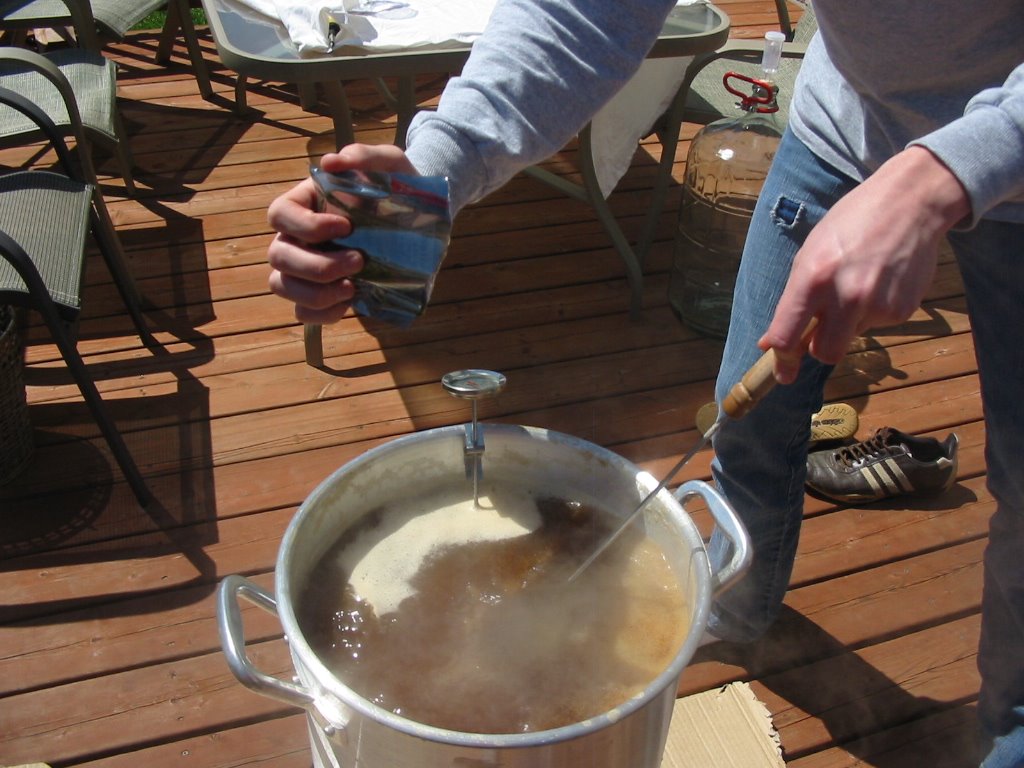
Yeast Pitching
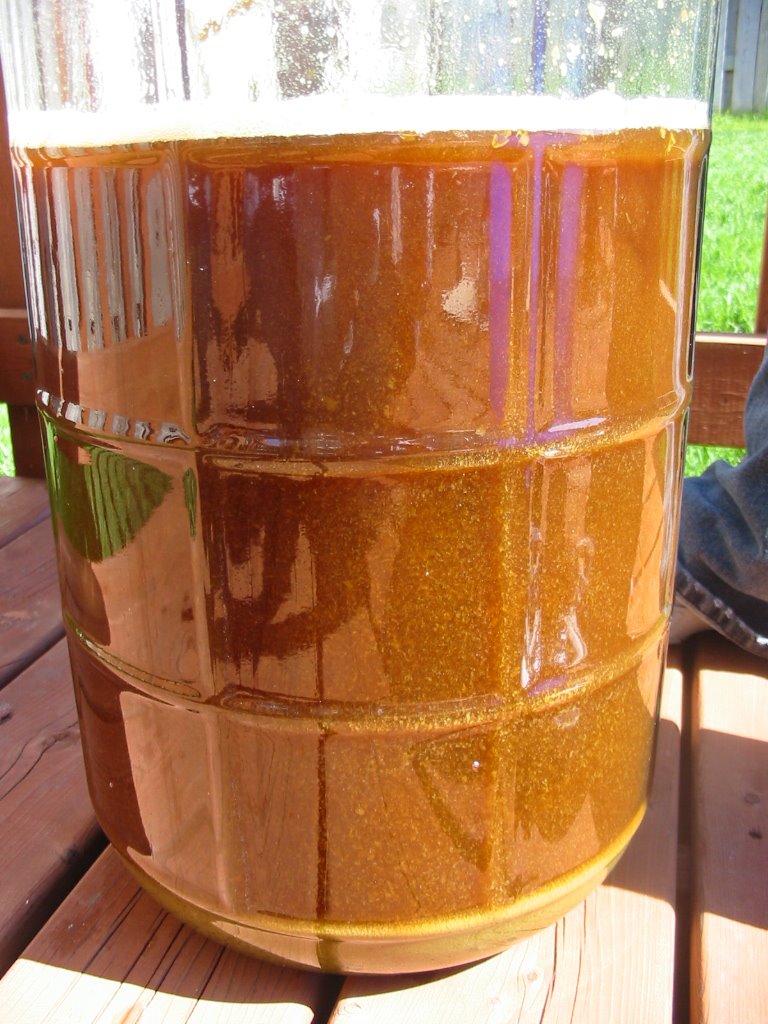
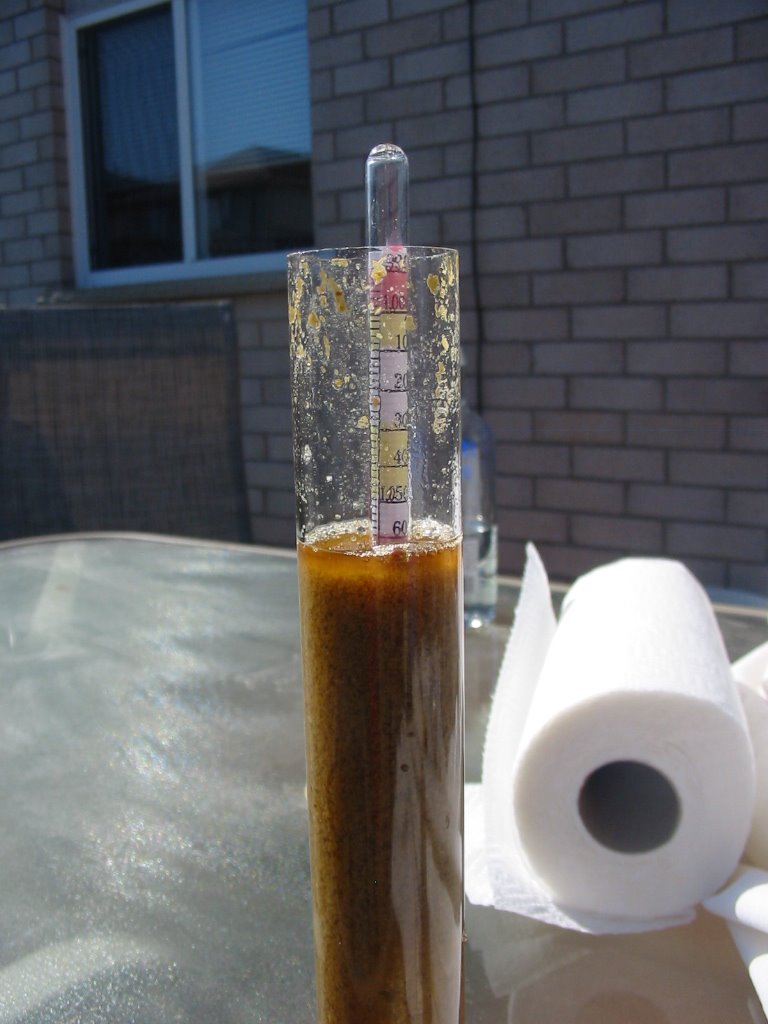
While the wort was siphoning into the carboy we went and got the dry Munton’s yeast started with some warm water. When all the wort was in the carboy, this milky yeast suspension was added to it to begin fermentation. A specific gravity reading was attempted at this time but we forgot to save some of the wort for this purpose. Our reading of 1.065 was accurate for what t
he recipe is supposed to be, but the accuracy is doubtful because half the hydrometer was filled with hop sludge. Finally, a small amount of hops saved from previous steps were added to the brew for a process called dry hopping. In this way we hope to achieve more and fresher hop flavouring for more IPA character. An ounce or so of vodka was poured in the airlock and the carboy was stoppered. 2 hours later it was happily bubbling away and beginning to form a krausen (head on the top of fermenting beer). The carboy was placed in a bucket of cold water when we realized the temperature of 90F was far too warm for this 65-70F ale yeast. In a week or two it will be ready to be racked to the secondary fermenter, so expect an update.
Cleaning
Who really wants to read about this anyway?
posted by Branko @ 7:13 PM
1 comments
![]()

